I am just loving these origami cranes! And more importantly, the history of them is so awe inspiring as well! Check it out:
Strings of one thousand paper cranes are often sent to places where tragedy has struck as a symbol of hope & healing. Sometimes groups will fold 1000 cranes for an ailing friend in hopes of speeding their recovery.
Whether you believe in the power of the crane, or simply in the gentle act of beauty and kindness, there is something uplifting about this tradition.' (1000 Cranes for Japan-Flickr)
I really wanted to do a picture tutorial for you, but when it comes right down to it, I think a video how-to in this case would be much easier for you to handle. So here you go (tutorial courtesy of Origamifun):
A bit more inspiration (stay tuned for the tutorial on how to string these sweet little things below):


How about on a cake?


Or even cupcakes . . .

How about on a cake?
Or even cupcakes . . .


And on to stringing them:
Supplies You Will Need:
~ cranes
~ needle
~ cord/string
~ hot glue
~ ruler
1. Fold your cranes.
2. Decide how many cranes you'll need per strand. Do this by dividing the number of strands by your total number of cranes.
To decide how long the strand should be as a fixed length:
(Divide the length of the strand by the number of cranes you'll be putting on it. This is your length per crane.
Subtract the height of the body of each crane from the length per crane to determine the length of the empty space above it.
Find a measuring device the exact length you need or cut one out of a heavy piece of cardboard that you'll be able to use as a guide. I used a ruler for this tutorial.)

3. On the underside of each crane is a small hole. We're going to run a needle up this hole to hang the cranes.

4. I used gold crafter's string to hang the cranes on.

5. Use the thinnest possible needle with a large enough hole to run the thread through (remember, no thicker than necessary as it will tear the paper as it comes out of the top of the crane.)

6. Run the needle into the hole.

7. A wider view of the needle going in with the thread attached.

8. This is what the needle should look like coming out through the top of the body section.

9. And the thread pulled through.
10. Put as many cranes as needed onto the strand of cord. You are going to begin gluing them into place from the bottom up so you will need to know the exact length each piece of cord has be.

11. Cut the cord.

12. The needle will be at the top of the cord and the cranes all piled around the bottom. Add a small drop of hot glue to the bottom, cut end of the cord.

13. Slide the bottom crane onto the bead of hot glue keeping it as level as possible.

14. Now measure the distance needed between the two cranes to set the next crane into place with a bead of hot glue. I'll be adding the second crane from above the blue one pictured here.

15. Whatever your set measurement will be between each crane you can use a guide or make one out of a cut piece of cardboard to set the placement of each crane.

16. Set the bead of hot glue slightly above where you want the crane to sit so you can slide it down the cord a bit, sealing the glue into the hole and onto the cord.

17. Repeat this process for each crane.

18. It doesn't matter if there are five cranes or fifty per strand, the process is the same.

19. If there are small glue threads that come off the hot glue gently remove them without disturbing the glue holding the crane in place.

Stringing crane tutorial courtesy of The Flirty Guide.
And I have always loved the thought of doing a Gender Reveal in a fortune cookie, like this:


The problem was, I just couldn't find a theme to go around it that I loved. I mean, Japanese Cherry Blossoms are amazing, and since the Fortune Cookie originated in Japan, this would be perfect if you knew you were having a girl. But these origami cranes would work for either gender, don't you think?
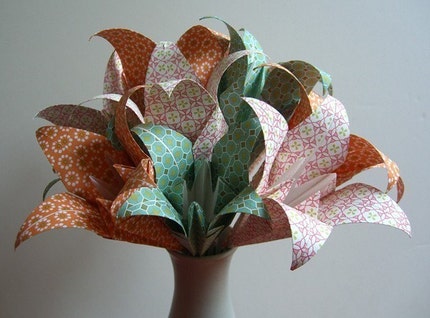
And then there's always origami frogs & flowers too . . .
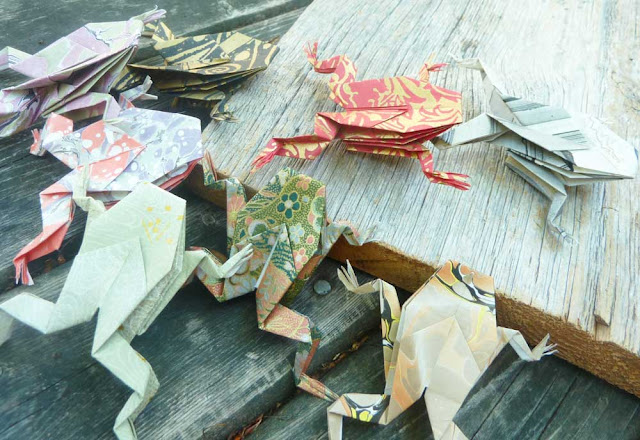


(above photos by LillyTyll on ETSY)


And even these amazing baby booties would work perfectly for your Origami Gender Reveal, no?

Oh no, I am starting to get carried away again. That is all for today:)
Oh no, I am starting to get carried away again. That is all for today:)