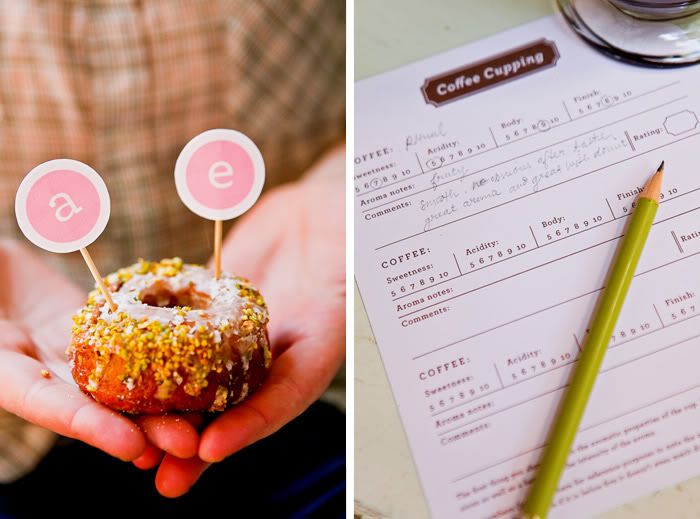
Have an absolute blast coloring Easter Eggs a few weeks ago and want to continue the fun? I just love all of the projects you can create using these gorgeous hand-dyed paper doilies.
They look beautiful dressing up a brown kraft bag filled with treats for affordable favors, they make a smashing garland for that ultra-feminine friend in your life, or best yet, use them to make an absolutely unforgettable embellishment on your next invitation.
Difficulty Level: Easy
Supplies You Will Need:
~ A bowl or baking dish (I used a Pyrex baking dish)
~ White paper doilies (found at Michael's or Jo Anne's)
~ Food coloring
~ Paper towels
~ Rubber gloves
1.) Fill the baking pan or bowl with only enough water to cover the doilies – this is key, because you need the food coloring to be very concentrated. You will need to use quite a lot of food coloring. My first two or three attempts were failures (I had too much water in my dish and not enough food coloring). After I dumped out most of the water, and really poured in a lot of dye, it worked nicely.
2.) Submerge the doily in the dish/bowl for a few seconds (10 or 15 seconds is sufficient). I started to get bolder toward the end of this craft and I left them in for longer, just to see.
3.) Gently take them out of the dish and lay them on a paper towel to dry. They are very fragile, so use caution when you take them out of the pan.
4.) Blot them dry right away with another paper towel very gently. Set aside to dry. (I laid mine out on a table, underneath a ceiling fan, and they dried very quickly).
If you don’t want your fingers to turn green or blue or purple, like mine did, use rubber gloves to take the doilies out of the dye. Also, this craft is a paper towel hog; you will want to have lots of paper towels handy.
This is definitely a kid friendly activity, except it might take kids (depending on how old they are) a couple of tries to get the doily out of the dye without tearing it.
Perhaps you need a pretty garland . . .
Or fabulous favor wrappers on a bag or mason jar . . .
Maybe you were thinking of some lovely gift wrap . . .
And don't forget our favorite, the invitations . . .
And since we are getting extra crafty on this fine Tuesday in May, why not do ahead & make your own envelopes to match. You can either leave them white, or use up a few more of those beautiful colored ones you have lying around . . .
These DIY Lace Envelope Doilies are a great way to dress up your shower or wedding invitations or programs, and a great touch for outside spring and summer weddings!
Materials :
~ 9 inch square doilies
~ Vellum/tracing paper
~ Craft Adhesive Spray
~ Art Card
~ Cutter/double-sided tape/cutting mat/ ruler
1. Create a template for the tracing paper/vellum. I used my old drawing block as the template. After a few attempts to get the right template, I am satisfied with my crisp looking template!
2. Trace the template into the tracing paper and use cutter to cut it. But for the folded side in the middle, use the blunt edge of the cutter to give a folding mark.
3. Spray the tracing paper with the Adhesive Spray. Don’t forget to put newspaper to cover the surrounding area. Leave it for 15 secs. Carefully stick it to the doilies, make sure it fits perfectly.
4. Fold the doilies to follow the tracing paper’s structure. Secure the inside of the envelope with double-sided tape. Voila! Beautifully hand-crafted envelope.
And there you have it. Dozens and dozens of doilies to turn into all sorts of fantastic creations. Lacy, vintage, romantic, & so much fun to put together!