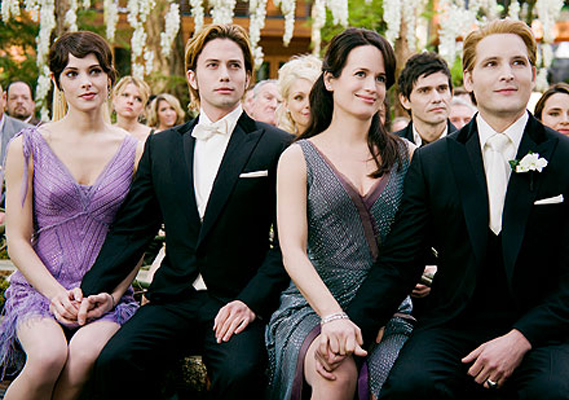
For all of my die-hard Twilight fan readers, I thought you might enjoy taking a peek at the gorgeous nuptials of your two favorite lovebirds, Bella & Edward. Set in a beautiful garden with cascading white flowers everywhere (after all, Alice Cullen wanted a Midsummer Night's Dream type of feel and vampires can't stand the sunlight. How absolutely genius of her to keep them in the shade with flowers!!)
Here are a few other pictures from their wedding album...and keep reading below for a very affordable tutorial on how to make your own wallet-friendly cascading 'flowers'.



And just in case a THOUSAND white fresh flowers aren't in your wedding budget, here is a fun tutorial from Crafty Moods on how to make a cascading strand of flower poms. You will still achieve that magical garden effect without breaking the bank...
CASCADING FLOWER POM STRANDS

Supplies You Will Need:
~ Tissue paper (I recommend 20 x 30 inch; if you order it in bulk, you will pay very little for it, which is excellent since you want to make as many as you can stand)
~ Scissors
~ Thin floral wire (optional)
~ Fishing line or clear sewing thread to hang
Here's what you do:
(from Trish)

I cut my 20x30 inch tissue paper into 2 pieces measuring 15x20in. I used 16 of those size sheets to create a huge POM POM. When I was done I folded the 15x20 inch sheets in half (creating 10x15insheets) and made medium size POM POMS and so on. Keep folding in half to create smaller size POM POMS etc. The more sheets you use the thicker the flower pom pom will be.
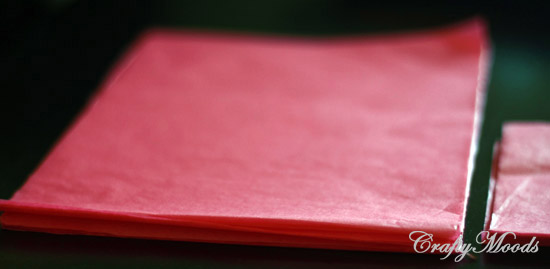
I started by folding the 10 sheets of 7.5x10in inch tissue paper. I folded them at about 1 INCH folds until it looked like an accordion.

Accordion folds.

Cut the ends round (semi circle) for roses. Cut them pointy if you want another petal look.

Do the other side...

Cut your wire about 5-7 inches. Make a half inch loop if you will be hanging these from each other. This however is not necessary BUT easier when hanging.

Tie the folded sheets together and twist the wires at the bottom. Should look like this.


Make sure you tie the wire in the center of your fold. This assures that when hung, your POM POM will hang straight!

Hold it fanned out.

Start separating one sheet at a time on one side then do the other side.


Both sides-top view.

Sorry if I'm OVER explaining.


Here is a mini version (this is 5x7.5in paper) CUTEST ONE!

Cut the wire on the bottom to about 2 inches and make a loop. Grab with a needle nose pliers (easier) and twist with hand.


You can also make a HOOK instead of a loop. This makes it easier to hang in different locations if you change your mind...

Loops will not show.

You can layer your colors of tissue paper to achieve a variation of colored petals.

Few different sizes.


Now you better get to work, because you are going to need to do a lot of flower strands to get the Cullen-Swann look; Alice IS an expert party-planner after all . . .
And for those of you who want to see the stars at Hollywood's 'Breaking Dawn' Premiere, my husband was filming the red carpet on Monday Night! Take a look here: